Does your website frustrate users? Usability testing reveals frustrations and shows how you can make your credit union website design easier to use. Making a website easy-to-use reduces phone calls to your help desk, increases conversion rates, and makes users happier. (Get the Usability Testing Worksheet that goes along with this guide.)
Contents of this Article:
What is Usability Testing?
Why Should You Do Usability Testing?
Things I’ve Learned from Usability Testing
How to Prepare a Usability Study
How to Conduct a Usability Study
Use Session Replay Software
Do It
What is Usability Testing?
Usability testing is when you ask real users to complete tasks on your website in order to measure ease of use. By observing users complete tasks, you can learn of any difficulties or problems and fix them.
Why Should You Do Usability Testing?
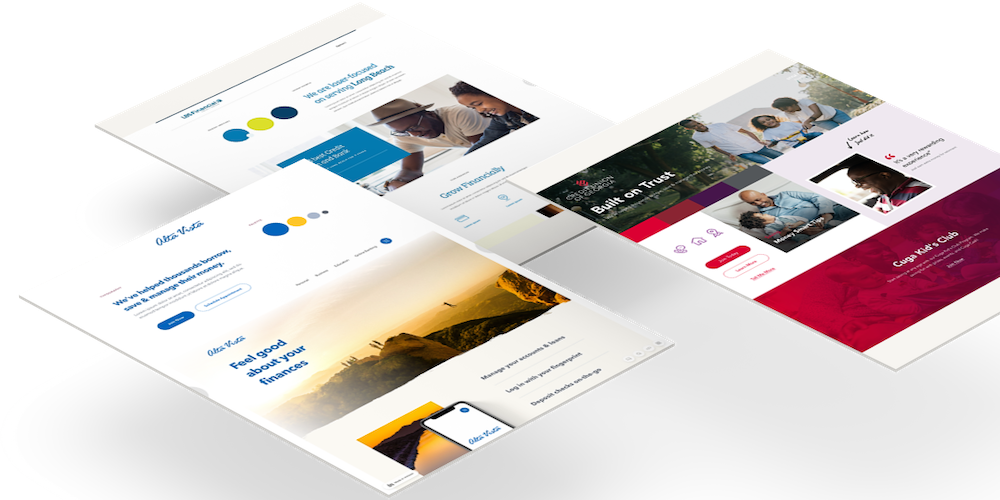
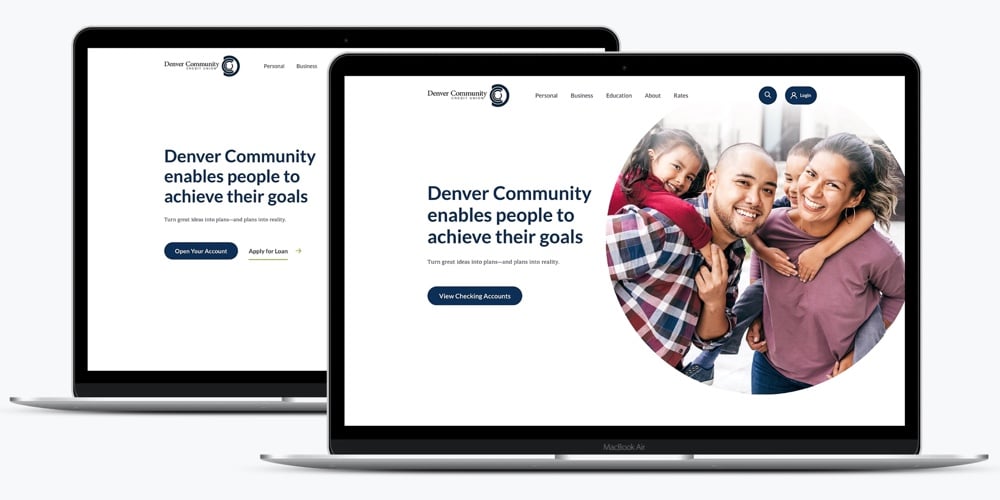
Most credit union website designs are terrible. That might sound rude, harsh, or extreme, but it’s the truth when users have difficulty accomplishing important tasks like …
- Finding a phone number
- Finding the nearest branch location
- Opening an account
- Applying for a loan
- Finding basic information about products and services
- Learning why they should join the credit union
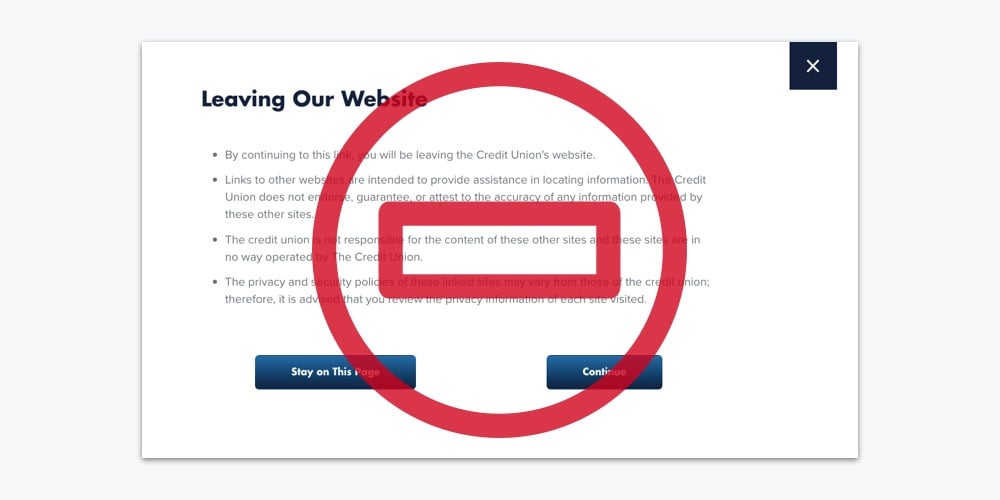
When users can’t find information or accomplish tasks, they get frustrated. When they get frustrated, they leave your website (and maybe even your credit union) and go somewhere else. Or, they call in to express their frustrations to your call center reps. Obviously, neither outcome is good.
Websites have usability problems because designers don’t know how people actually use websites and make incorrect assumptions about user experiences. Assumptions are the enemy of truth.
Rather than operating on assumptions, you can operate on facts by doing usability testing. Usability tests are the only way to see how real users use your website and the only way to discover usability problems before they frustrate members.
In this guide, we’re going to talk about how to eliminate assumptions so you can make your website a more pleasant, simple experience.
Things I’ve Learned from Usability Testing
My team and I at BloomCU have learned many valuable insights from conducting usability studies on our clients’ credit union website designs. Here is just a sampling of things I’ve learned:
- How to better name and organize navigational items. (Example: We found that when users are looking to join a credit union, they will look in a menu titled “Accounts” before they’ll look in menus titled “Services” or “About”.)
- Where users will look for contact and location information. (Examples: We found that if you have a menu named “About,” users will look there for contact and location information. Users also look in footers for location information.)
- How users prefer to navigate mobile websites. (Example: We found that many mobile users prefer to use search rather than a navigation menu.)
- How to make the functionality of website elements more clear to users. (Example: Adding a label that says “Menu” next to a hamburger icon helps users know where to find the navigation.)
How to Prepare a Usability Study
To do professional usability testing on your credit union website design, follow the four steps below.
1. Choose the system you want to test
You can’t do usability testing on nothing, obviously 🙂 You need some system to test. You could test your current website, a new website you’re about to launch, or a website prototype.
Example: When BloomCU is developing a new credit union website design, we like to do usability testing early in the design phase. We use Axure to create barebones prototypes that have only basic layouts and functionality. Then we test, iterate, test, iterate, test, iterate, for three weeks. This rapid prototyping approach pays huge dividends in terms of ease of use.
2. Brainstorm Test Ideas
Now, you need to brainstorm test ideas. What do you want to test? Why?
Look at your website analytics to determine which aspects of your website are most important to users. What are the top ten things visitors do on your website? Focus your usability tests on these top ten items, which likely fall under one of two categories: finding information or performing operations.
How easily can users find frequently sought-after information?
Example: Find a branch location.
OR
How easily can users accomplish critical operations?
Example: Apply for an auto loan.
3. Write Instructions for 5 Tasks
Tasks are what you want users to do during this usability study. From the test ideas and analytics data you brainstormed above, select five things you want to test and write task instructions for each. For instance, if you want to test the easiness of logging into online banking, your task might be, “Sign in to online banking.”
Rules for Task Instructions
As you write instructions for each task, remember these three rules:
- Limit each task description to 12 words or fewer.
- Do not use words from your website (or prototype) to describe the tasks.
Example: If you want to test the simplicity of your website’s online banking login but your prototype contains the word “login”, ask the user instead to, “Sign in to online banking.”
- Describe specific tasks that align with common user goals.
Example: Users never apply for “general” loans, they only apply for specific loans— like auto loans. Therefore, don’t ask a user to, “Apply for a loan.” Instead, ask the user to, “Apply for an auto loan.”
4. Recruit Five Users
When recruiting users to participate in your study, ideally you’d get participants that are representative of your member population: some young people, some older people, some male, some female, etc. However, don’t let perfect get in the way of good: usability testing with anyone is better than testing with no one. Except, avoid testing with employees of credit unions because their perspectives are tainted by industry experience. Instead, get consumers to participate.
Research from Jakob Nielsen and Tom Landauer shows that you need to recruit only five users to participate in your usability study:
The number of usability problems found in a usability test with n users is
N (1-(1- L ) n )
where N is the total number of usability problems in the design and L is the proportion of usability problems discovered while testing a single user. The typical value of L is 31%, averaged across a large number of projects we studied. Plotting the curve for L=31% gives the following result:
According to Nielsen and Landauer’s research, testing with just five participants reveals 80% of usability problems. Beyond five participants, marginal returns decrease sharply; in other words, you will learn less and less from each user beyond participant number five. Hence, at BloomCU, we tell our clients to not recruit more than five participants to avoid wasting everyone’s time.
How to Conduct a Usability Study
To conduct professional usability testing on your credit union website design, complete the four steps below with each of your five participants.
1. Introduce the Study
When conducting usability studies, the most important thing to remember is consistency. As you ask participants to perform tasks, you must use the same words, tasks, and order for every user.
Here’s how to introduce the study:
- Tell the user you are testing your website (or a prototype or your new website) so you can make it easier to use.
- Ask if he or she is willing to participate in a 7-15 minute website test.
- Tell the participant you will give him or her five tasks to complete. Make sure to tell the participant, “We are NOT testing you. We are testing the website.”
- Ask the participant to think aloud throughout the test. (Note: We tell our clients to say, “I didn’t design the prototype, so give me your honest feedback.”)
- Ask the participant, “Before we begin, what questions do you have?” (Note: This gives participants a chance to ask questions if the instructions above weren’t understood.)
2. Show the Website & Introduce Each Task
Now is the time to show the website (or prototype) to the participant. You’ll need a laptop, desktop, tablet, or smartphone for this step.
Open the website on your device and give the participant full control. Read the first task to the participant exactly as it is written (refer to the tasks you wrote during “Write Instructions for 5 Tasks” above). After the user has completed or attempted the complete the first task, give the participant the second task. Continue this process until all five tasks have been given.
Tip: Keep in mind where the user is when you give each task. For instance, if the task requires the user to start from the homepage, instruct the user to return to the homepage before giving the task.
3. Take Notes & Ask for Feedback
Throughout the study, take notes about what you learn.
After the user completes all five tasks, ask the user, “On a scale of 1-3, where 1 equals difficult-to-use and 3 equals easy-to-use, how would you rate this website?” After recording the user’s rating, ask, “Why that rating?” This simple rating system will help you see how people feel about your website overall and how just one little difficulty can tarnish someone’s feelings about your website and brand.
Use Session Replay Software
To get the most out of usability testing, we use a session replay tool called Smartlook. Smartlook records participants’ sessions so we can watch them again later. Session replays help us glean valuable details that are sometimes missed during live testing sessions.
Session replays are extremely valuable for Usability testing and Smartlook lets you record 1,000 sessions for free, which is amazing. Kudos to Smartlook for being awesome. To get started, all you have to do is create a Smartlook account and install a snippet of code on your website. (We recommend installing Google Tag Manager (GTM) on your website, then adding Smartlook as a tag in GTM.)
Important: Each time you administer a set of tasks to a single user, close the tab or window the website is in. Closing the tab or window will end a session recording in Smartlook and reopening the website will start a new recording. This is important so you can separate recordings between users.
Do It
You now know how to do professional usability testing. So, do it! You’ll learn valuable insights about your credit union website design that you cannot learn in any other way.
If you feel like usability testing is too hard and takes too much time, let me reassure you that it’s actually pretty simple. It’s simple enough that you could start right now and complete some usability tests on your website in just a few hours. All you have to do is . . .
- Prepare a Usability Study
-
- Choose the system you want to test (e.g., website or prototype)
- Brainstorm Test Ideas
- Write Instructions for 5 Tasks
- Recruit Five Users
- Conduct a Usability Study
-
- Introduce the Study
- Show the Website & Introduce Each Task
- Take Notes & Ask for Feedback